Overview
An Autonomous Process is the simplest process to create as it contains all the the circuitry in a single process. There is no need to consider any other aspects of accretion.
Creation
NB. The Blueprint Project Creation Wizard automatically creates a basic named Colony and Process with commonly used default attributes, linked with the appropriate Container and Circuit. However, additional Processes can be created.
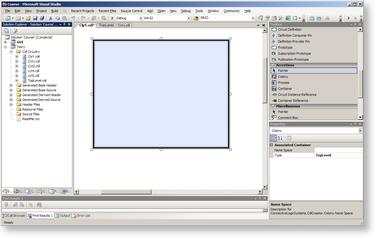
First we need to create a named Colony in the CDL Circuitry Folder of the Solution Explorer and Drag a Colony Object from the Toolbox (Accretion) onto the blank page. This Colony needs to be associated with the top most Container containing the circuitry for the project, via the Type Attribute. The example below shows the Type 'TopLevel' for the 'TopLevel' container.
We can now create a single Process inside the Colony by dragging a Process Object from the Toolbox (Accretions) onto the Colony Object. (In general cases multiple processes can be added, but only one should be created for an Autonomous development.
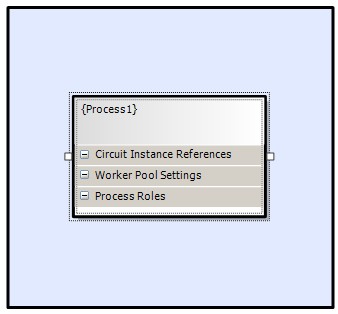
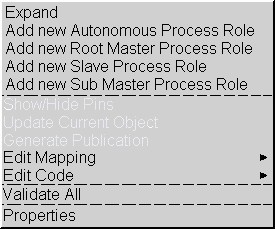
To specify what type of Process this is, we need to specify the Process Role(s). By selecting 'Process Roles' on the Process Object we can select a Role type from the Right-Click Popup menu. The default name can be modified, in either this menu or the Properties Window.
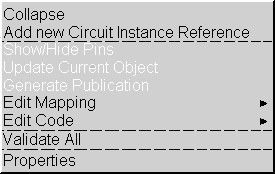
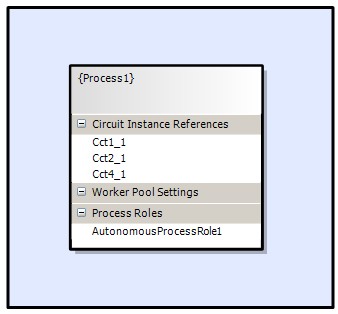
Once a Process has been defined a 'Circuit Instance Reference' object needs to be added to the Process, for each Circuit instantiated in the Container(s). Circuits instantiated as child Sub-Circuits must not be added. These can be added by selecting the 'Add new Circuit Instance Reference' from the 'Circuit Instance References' popup menu
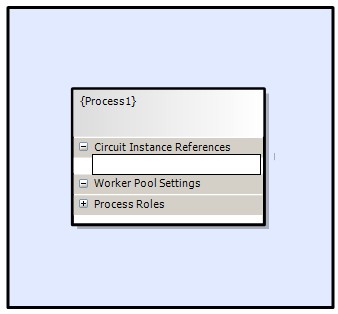
This will add a Text field to the list for the user to enter the name of the Circuit Instance (not the name of the Circuit Definition).
The example below shows several circuits, for an Autonomous Role.
Attributes
Before we build the Colony we need to set up the Process Attributes and the Process Role Attributes. Although there are many attributes available, only a few need to be setup for Autonomous Processes.
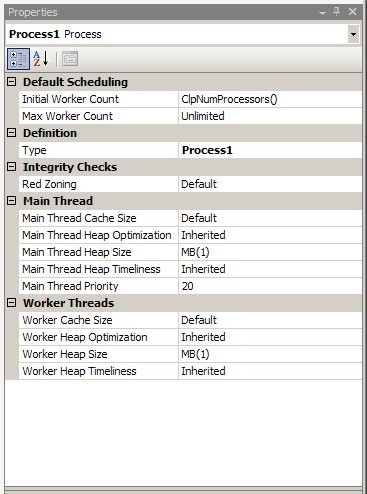
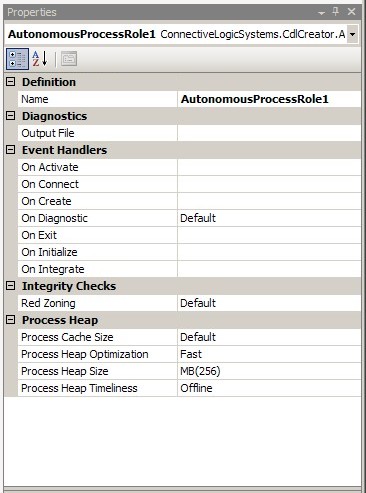
Diagnostics : Output File => Default will copy all diagnostics raised to a diagnostics file in the executable directory. This can be changed to Disable to stop file output or to a user specified file name defined in a MACRO definition (in the ProjectHeader.hpp).
Do not use a file name directly as it would need to be quoted and the Properties Window will strip off the quotes.
Event Handlers - OnDiagnostic => Add a diagnostic message handler (see GUI Programming/Creating the Main Application). The default 'Default' will send diagnostics to the Debug Output Window, whilst 'Disable', will drop all diagnostic output (except file output above).
Process Heap - Process Heap Size => MB(256) modify as required. This is the amount of memory CLIP will reserve for all data stores, state and workspace (including store buffer-depths). This value is often set up as a run-time parameter read from an ini file.
The default of 256MB is generally more than sufficient for medium sized applications.
Instantiation
The name specified for the Process in the Definition Type property will be used to create the class definition of the process generated by the Translator, which needs to be instantiated in the main thread code.
Eg.
type = Process1
class = Process1Process
{
...
Process1Process mProcess;
mProcess.Startup();
}
Compile and Link
The Blueprint project wizard defines a number of build configurations (see Creating a Project), one of the following should be selected in order to create the required library file.
Autonomous Debug
Creates the library <ProjectName>_ad.lib with debug information. No additional linking is required.
Autonomous Release
Creates the library <ProjectName>_a.lib without debug information (faster). No additional linking is required.
The CDL project can now be translated and compiled (Compile from the pop-up menu).
 Click to enlarge